
Working with ionic we need to make both ios and android build. Android build can be made by executing few commands and it is bit easier than making ad hoc build for ios. So below are the steps to make ios ad hoc build.
Step 1: Through terminal first go into your project e.g. /app_folder
Step 2: Check your branch from terminal using the command git branch
Step 3: Add bundle id and version of application in config.xml.
Step 4: Add splash screen and icon in resources folder. Icon should be of size 192*192 pixels, and the splash screen should be of size 2208*2208 pixels.
Step 5: Now from the terminal run the following commands:
- ionic resources
- Ionic state restore
- Ionic build ios
Step 6:Your build is ready now. Now you have to open your project into xcode. Using finder go to the path /app_folder/platforms/ios/myapp.xcodeproj. By double clicking on the myapp.xcodeproj your xcode will be opened.
Step 7: In xcode your app will be opened as shown in the above screenshot. Check your project name, bundle id and version of your application as highlighted in the screenshot.

Step 8: Now go to the Build Settings tab and open the provisioning profile under Code Signing.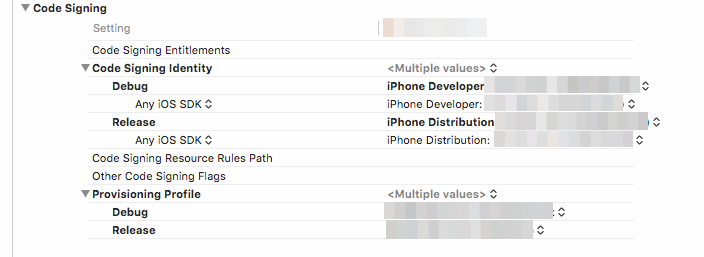
Check the Debug and Release options. Select respective certificate like below screen.
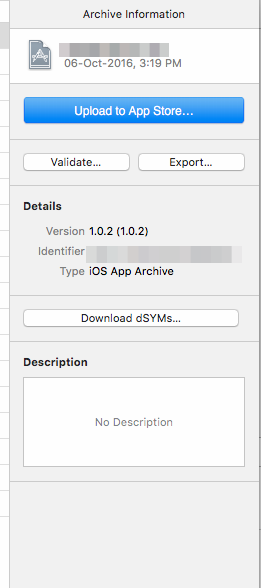
Step 9: Now from the title bar select the product->clean and after the completion of clean select product->archive. After that an organizer window will appear.
Step 10: Now click on the Export button.
Step 11: After this you will have the following screen. For adhoc build select the shown option:

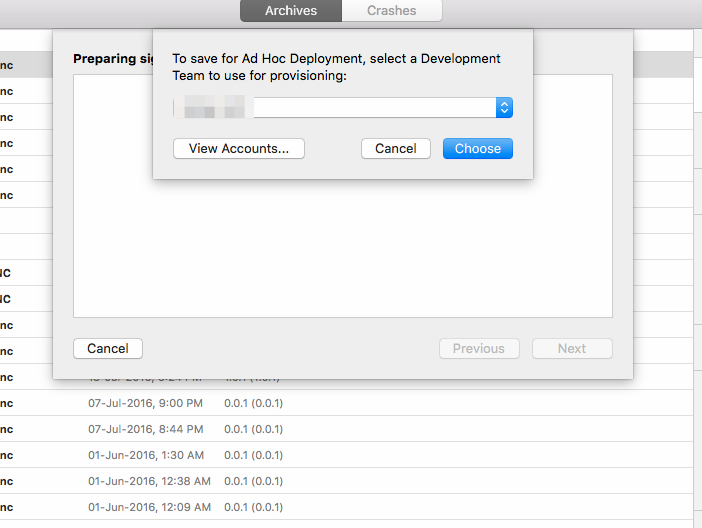
Step 12: Now click “Next” from above screen. You will get following screen.Select your user/owner account like above screen and click “Choose” Button.
Step 13: You will get following screen. Be sure “Export one app for all compatible devices” option is selected. Now click “Next” Button.You will get following screen.

Step 14: A summary window will open as shown below. Now click “Next” Button.

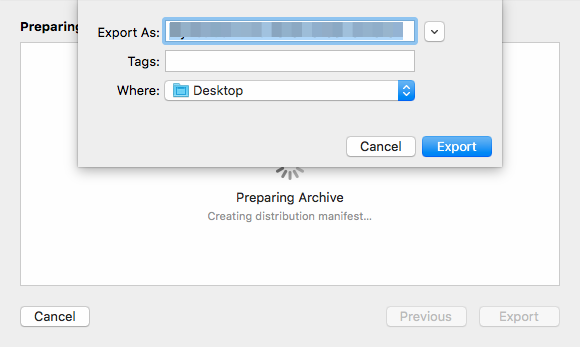
Step 15: You will get following screen.You can change your name and path. Now click “Export” button.You will get your ipa under the Desktop->your_given_name->your_app_name.ipa .

Leave a comment